 |
Sophisticated
rollovers
In addition to creating buttons, Fireworks makes it easy for you to
create sophisticated JavaScript rollover effects. For example, when
the pointer passes over a button, in addition to changing the appearance
of the button, you can change the appearance of another area of the
page. In Fireworks, this type of rollover effect is called a disjoint
rollover. |
| 1 If the Layers
panel isn't visible, choose Window > Layers. Click Layer 1 to make
it the active layer. The changes you are about to make must be to
Layer 1. |
 |
|
|
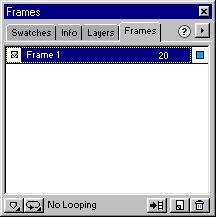
2 Display
the Frames panel (choose Window > Frames if it isn't visible).
 |

|
3 Click the New / Duplicate
Frame button at the bottom of the Frames panel.
4 Click Frame 2 in the
Frames panel. Everything except the buttons disappeared because
the artwork is in Frame 1. The buttons, however, are on a layer
that is shared among all frames. Next, you'll place artwork in Frame
2 that serves as the source of the rollover. You need to turn on
onion skinning to help you align the artwork in Frame 2 with the
artwork in Frame 1. Onion skinning lets you display dimmed versions
of more than one frame at a time.
5 Click in the column
to the left of Frame 1 in the Frames panel. Fireworks displays the
contents of Frame 1 as if it were on translucent onion skin. To
save you time, we've created the artwork you'll use for the rollover.
6 If the Library panel
isn't visible, choose Window > Library. The Library panel stores
buttons and other artwork that you want to reuse throughout a design.
For more information on using the Library panel, see Symbols and
instances.
|
 |
|
 |
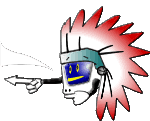
7 Click Swap Text from
the list of items. A preview of the artwork appears in the top of
the Library panel.
8 Drag the Swap Text
artwork from the preview area in the Library panel and align it
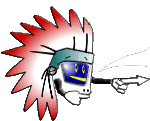
over the welcome message text.
9 Make frame 1 active
by clicking its name in the Frames panel.
10 Use the Pointer tool
to select the tan rectangle behind the welcome message text and
choose Insert > Slice. Fireworks inserts a light green, transparent
rectangle on top of the image to represent the slice.
11 In the Object inspector
(choose Windows > Object if it isn't visible), deselect the Auto-Name
slices option and enter text_slice in the text box at the bottom
of the panel. Naming slices distinctly helps you to identify the
slice images when maintaining and updating a Web site. You'll attach
a behavior�prewritten JavaScript code�to the Gifts button that targets
this slice as the area to change when the pointer rolls over the
button.
12 Select the Gifts button.
|
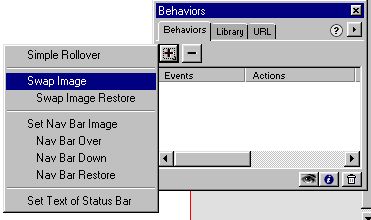
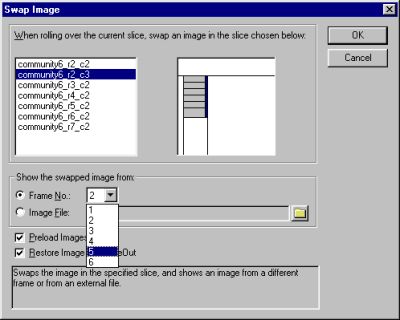
13 In the Behaviors inspector
(choose Window > Behaviors if it isn't visible), click the button
with a plus sign (+) and choose Swap Image from the pop-up menu. The
Swap Image dialog box appears.
 |
|
|
14 Make sure that text_slice
is selected in the list of slices on the left side of the dialog box,
and click OK.
 |
|
15 Click the Hide Hotspots
and Slices button in the Toolbox. Click the Preview tab in the workspace
and move the pointer over the buttons. Point at the Gifts button
and notice that the message to the right changes. The Preview tab
displays the image, buttons, and JavaScript behaviors as they'll
appear in a Web browser.
16 Click the Original
tab and save the image.
|
|
|
 |
|